
Kitchen Guide
How to Cook Frozen Fish:The Complete No-Thaw Guide
Straight from the freezer to a perfectly cooked fillet. No thawing required, and no compromises.
Key Takeaways
- Flash-frozen fish is often fresher than “fresh” fish at the counter — it’s frozen within hours of the catch, while counter fish can be 7–14 days old.
- Yes, you can cook most fish straight from frozen — oven-baking, air frying, and steaming all work exceptionally well without thawing first.
- Cook frozen fish at lower temperatures for slightly longer — plan for roughly 50% more cooking time compared to thawed fillets.
- For refrigerator thawing, remove vacuum packaging first — place the fish in a shallow covered container, keep it refrigerated, and follow package or processor instructions. Never thaw at room temperature.
- Internal temperature matters more than cook time — wild salmon is best at 120–125°F for a moist, silky center.
- Vacuum-sealed portions make weeknight cooking effortless — grab a portion from the freezer and dinner is ready in 20 minutes.
Table of Contents
1. The Flash-Frozen Advantage
If you’ve ever walked past the frozen seafood aisle thinking it’s somehow inferior to the fish glistening at the fresh counter, you’re not alone. But here’s what most shoppers don’t realize: a significant portion of the “fresh” fish at your local grocery store was frozen at some point during its journey to the counter. The difference? It was thawed before you ever saw it — and has been sitting there losing quality ever since.
How Commercial Flash-Freezing Works
Commercial flash-freezing (also called blast-freezing or IQF — Individually Quick Frozen) is fundamentally different from what happens when you toss a piece of fish into your home freezer. Industrial flash-freezing equipment drops temperatures to -40°F or below within hours, compared to home freezers that take 24+ hours to fully freeze a piece of fish at around 0°F.
That speed difference has an enormous impact on quality. When fish freezes slowly (like in your home freezer), large ice crystals form within the cell walls of the flesh. These jagged crystals rupture cell membranes, which is why home-frozen fish often turns mushy and releases excess liquid when thawed. Flash-freezing creates tiny, uniform ice crystals that preserve the cellular structure of the fish almost perfectly.
Commercial Flash-Freezing
- Temperature: -40°F or below
- Speed: Fully frozen in 1–4 hours
- Ice crystals: Tiny, uniform
- Cell structure: Preserved intact
- Thawed texture: Nearly identical to fresh-caught
Home Freezer
- Temperature: 0°F
- Speed: 24+ hours to fully freeze
- Ice crystals: Large, jagged
- Cell structure: Damaged, ruptured
- Thawed texture: Often mushy, watery
Why Flash-Frozen Fish Can Be Fresher Than “Fresh”
Here is the timeline that matters most. When a wild salmon is pulled from Bristol Bay, Alaska, its quality starts declining immediately. Enzymes begin breaking down the flesh, bacteria begin to multiply, and oxidation starts degrading the omega-3 fatty acids that make wild salmon so nutritious.
Flash-freezing stops that clock entirely. Fish that is frozen within hours of being caught is essentially locked at peak freshness — the same quality it had when it came out of the water.
Now consider the journey of “fresh” fish at your grocery store counter. That fish was caught, transported to a processing facility, packed on ice, shipped via truck or air (sometimes across continents), received by a distributor, shipped again to a retailer, unpacked, and placed on display. By the time you buy it, that “fresh” fish is typically 7 to 14 days post-catch — and as noted above, it may have been previously frozen and thawed anyway.
The Bottom Line: A flash-frozen wild salmon fillet that was frozen on the boat or at the dock within hours of catch, then thawed in your refrigerator before cooking, will typically taste better and have better texture than a “fresh” fillet that spent a week or more in the supply chain.
Cell Structure Preservation
The science is straightforward. Water expands when it freezes. When that expansion happens slowly, the resulting ice crystals are large enough to puncture cell walls throughout the fish flesh. When the fish is later thawed, all those ruptured cells release their contents — which is why poorly-frozen fish leaves a puddle of liquid on your plate and has a mushy, mealy texture.
Flash-freezing minimizes this damage. The rapid temperature drop creates ice crystals so small that cell membranes remain largely intact. When properly thawed, the fish retains its original moisture content, firm texture, and clean flavor. Studies from the National Fisheries Institute have consistently shown that properly flash-frozen fish is indistinguishable from fresh-caught fish in blind taste tests.
FDA Guidelines and Food Safety
The FDA actually recommends freezing certain types of fish intended for raw or undercooked preparation. Their guidelines for parasite destruction require freezing at -4°F (-20°C) for seven days, or at -31°F (-35°C) for 15 hours. Commercial flash-freezing exceeds these requirements by a wide margin, effectively eliminating parasites while preserving quality.
This is one reason why virtually all sushi-grade fish served in the United States has been frozen at some point. Freezing does not degrade the nutritional value, destroy the omega-3 fatty acids, or diminish the protein content of the fish in any meaningful way.
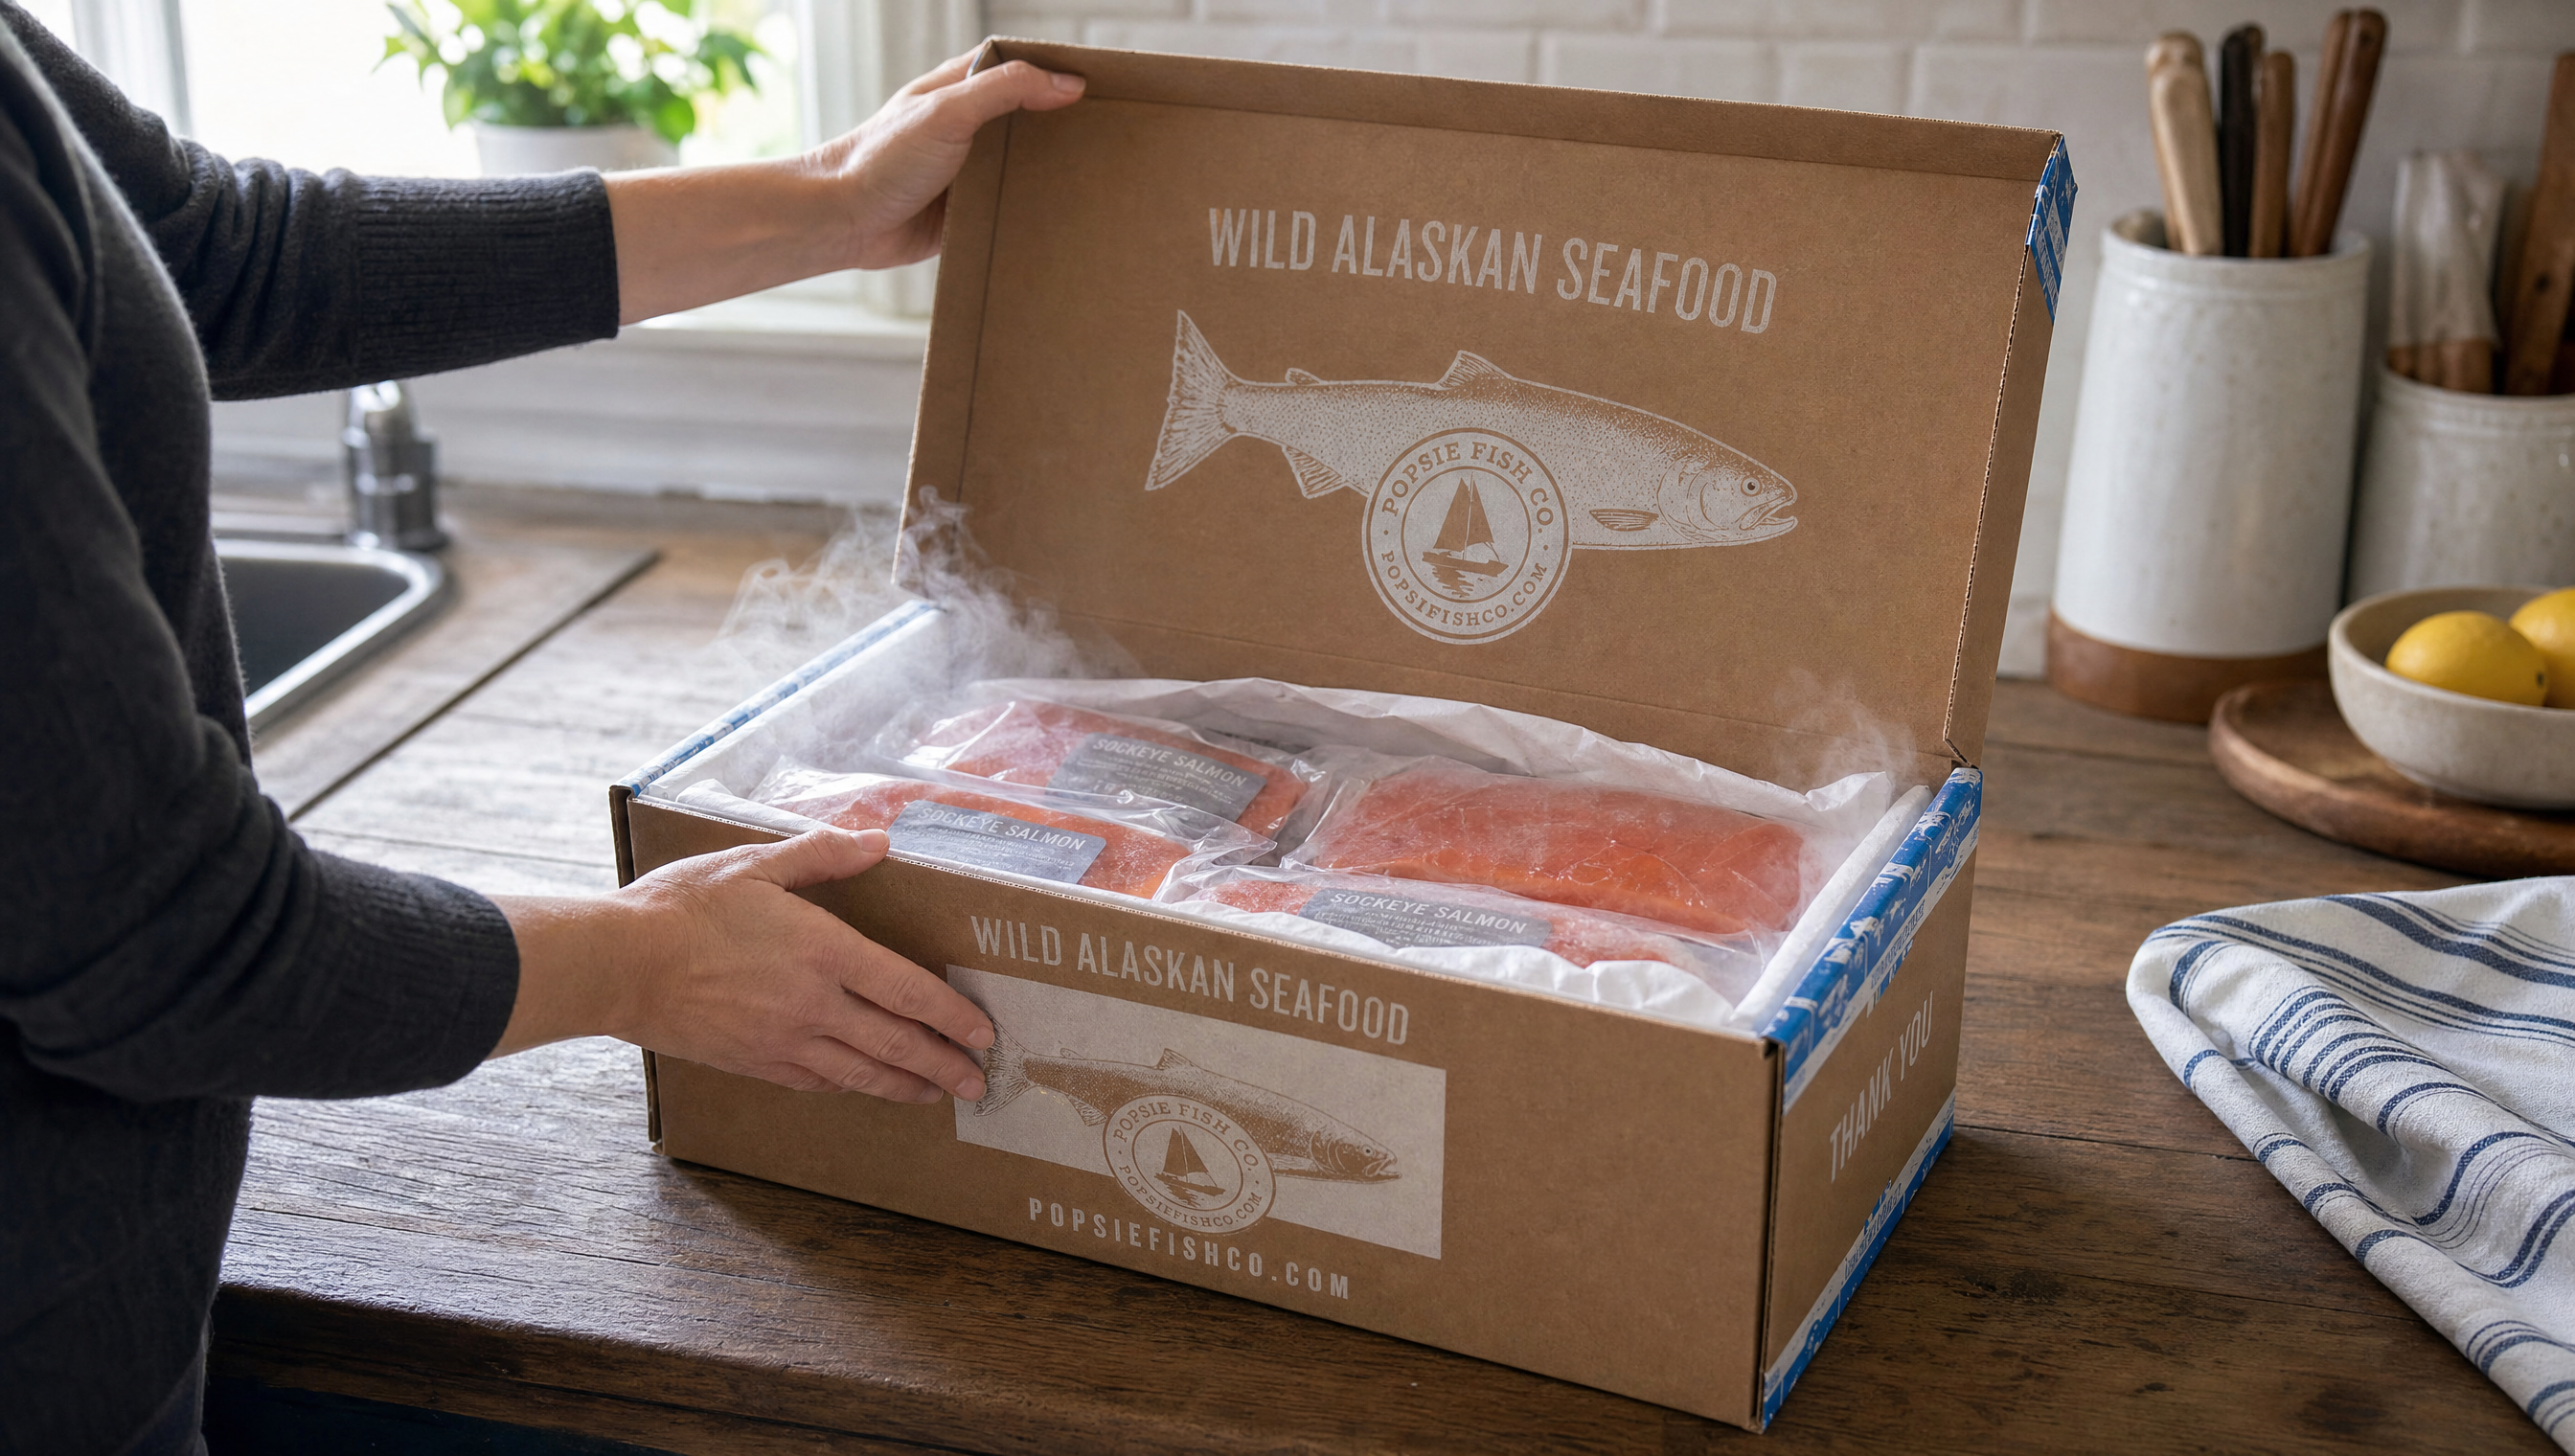
Popsie’s Approach: Dock-to-Door Freshness
At Popsie Fish Co, every piece of wild Alaskan salmon is flash-frozen within hours of being pulled from the pristine waters of Bristol Bay. The fish is vacuum-sealed in individual portions, eliminating freezer burn and oxidation, then shipped directly to your door on dry ice. There is no middleman, no warehouse thawing and refreezing, and no days sitting on a retail counter.
When you thaw a Popsie fillet in your refrigerator — or cook it straight from frozen — you are getting fish that is genuinely closer to its just-caught state than nearly anything available at a grocery store fish counter. That is the flash-frozen advantage.
2. Can You Really Cook Fish Without Thawing?
Yes — absolutely. Cooking fish from its frozen state is not just possible, it is an excellent approach for many cooking methods. The USDA confirms that frozen fish can be cooked safely without thawing first, as long as you adjust your technique slightly.
The key principle is simple: frozen fish needs roughly 50% more cooking time than thawed fish, and it benefits from slightly lower temperatures to ensure the center cooks through before the outside dries out. Beyond that, the process is nearly identical to cooking thawed fish.
The Science Behind Cooking from Frozen
When you place a frozen fillet in a hot oven or air fryer, the outermost layer of ice sublimates (turns directly from ice to steam) within the first few minutes. This actually creates a brief steaming effect that helps keep the surface moist. As the exterior begins to cook, heat gradually conducts inward, thawing and then cooking the center of the fillet.
The result, when done correctly, is a fillet with a nicely cooked exterior and a moist, perfectly done interior. Many professional chefs actually prefer cooking thick fillets from frozen because the temperature gradient gives them a wider window of doneness — it is harder to overcook the center when it starts frozen.
Methods That Work from Frozen vs. Those That Need Thawing
Cook Straight from Frozen
- Oven/Baked (the best option)
- Air Fryer (excellent results)
- Steamed / Instant Pot
- Poached / en Papillote
- Foil Packets on the Grill
Better to Thaw First
- Pan-searing (for crispy skin)
- Grilling directly on grates
- Breaded / battered preparations
- Thin filets (risk of overcooking)
- Sushi / raw preparations
Even for methods that work better with thawed fish, you can use a hybrid approach: run the sealed frozen fillet under cold water for 5–10 minutes to partially thaw the surface. This gives you a thin thawed layer for better browning while the center stays cold, giving you more control over doneness.
What About Food Safety?
Cooking from frozen is perfectly safe. In fact, it can be safer than some thawing methods because the fish spends less time in the temperature “danger zone” between 40°F and 140°F where bacteria multiply most rapidly. The USDA explicitly approves cooking frozen fish and seafood as long as the final internal temperature reaches the recommended 145°F (though for the best texture with wild salmon, many chefs pull it at 120–125°F and let carryover cooking finish the job).
The one critical rule: always remove any packaging before cooking from frozen. Vacuum-sealed bags are not designed for oven or pan temperatures and can release chemicals when heated. Remove the fish from its packaging, give it a quick rinse under cold water to remove any ice glaze, and pat the surface as dry as possible before cooking. If you are building out your kitchen for regular seafood cooking, our seafood kitchen guide covers the essential tools and equipment you need.
3. Four Ways to Thaw Fish Properly
While cooking from frozen is excellent for many situations, there are times when you want to thaw your fish first — pan-searing for crispy skin, grilling over open flame, or preparing a delicate crudo. When you do thaw, the method you choose makes a significant difference in the final quality.
1. Refrigerator Thaw (Best Quality)
Before refrigerator thawing, open or remove the vacuum packaging. Place the fish in a shallow covered container in the refrigerator and follow any package or processor instructions. This slow, cold thaw produces the best texture while keeping the fish refrigerated.
Best for: Any cooking method, especially pan-searing and grilling where texture matters most.
2. Cold Water Thaw (Quick Option)
Place the sealed fish in a bowl of cold tap water. Change the water every 15–20 minutes to keep it cold. A 6-oz fillet typically thaws in 30–45 minutes; larger portions may take up to an hour. The fish must remain sealed — direct water contact waterloggs the flesh and washes away flavor.
Best for: Same-day cooking when you forgot to thaw overnight. Works well for all methods.
3. Microwave Thaw (Last Resort)
Use the defrost setting at 30% power. Place the fish on a microwave-safe plate and check every 60 seconds, flipping halfway. Stop when the fish is still slightly icy in the thickest part — it will finish thawing at room temperature in a few minutes. Cook immediately after microwave thawing.
Best for: Emergency situations only. Uneven thawing can partially cook edges while the center stays frozen.
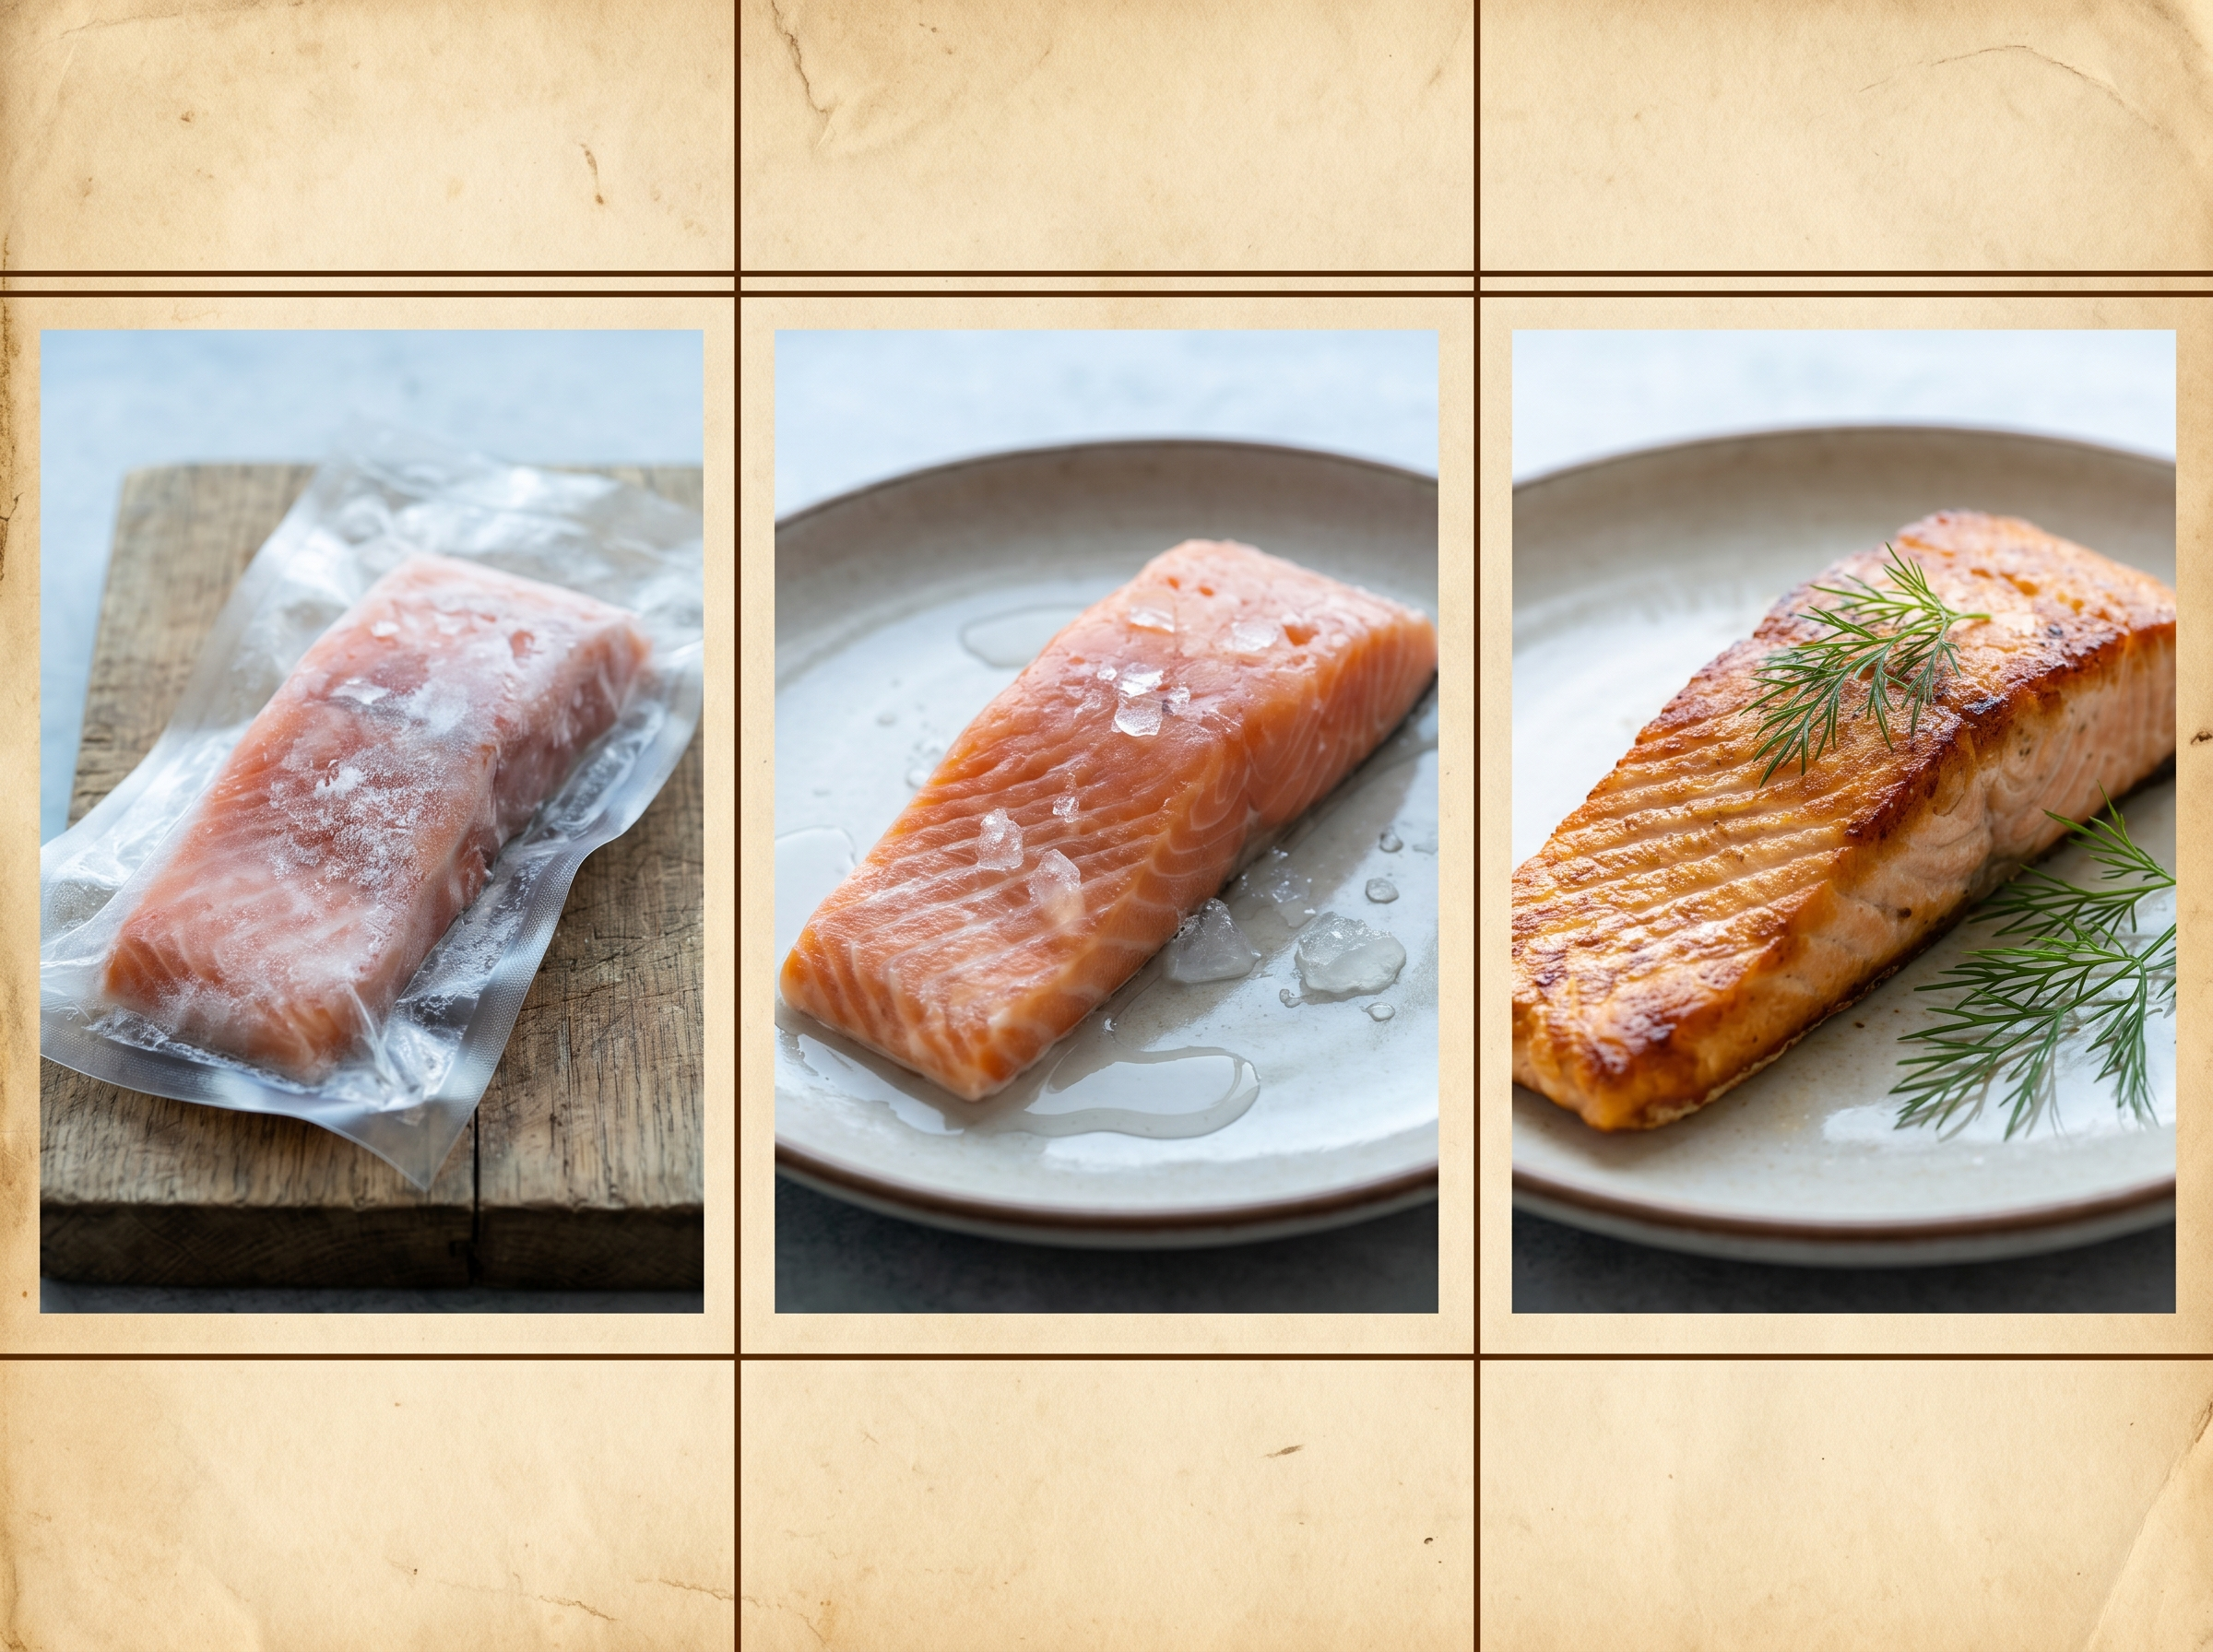
4. Cook from Frozen (Often the Best)
Skip thawing entirely. Remove the fish from its packaging, rinse under cold water to remove the ice glaze, pat dry, and cook with slightly lower heat and 50% more time. This is the fastest path from freezer to plate and produces excellent results with oven, air fryer, steaming, and poaching methods.
Best for: Weeknight dinners, oven-baked preparations, air fryer cooking, and steaming.
Never thaw fish at room temperature on the counter. Fish left on the counter enters the bacterial danger zone (40–140°F) within 30 minutes. The outside thaws and warms to unsafe temperatures while the inside stays frozen. This creates ideal conditions for bacterial growth and can cause foodborne illness.
Never thaw fish in warm or hot water. Same problem as counter thawing, but faster. Warm water also partially cooks the exterior, creating a mushy, unevenly textured fillet.
Popsie’s vacuum-sealed individual portions are ideal for cold-water thawing because the seal prevents water contact. Drop the sealed portion in a bowl of cold water and it will be ready to cook in about 30 minutes — no bag swapping or extra sealing needed.
4. Cooking Frozen Salmon: Method by Method
Each cooking method brings different strengths when working with frozen fish. Below are detailed, step-by-step instructions for the four most popular approaches. Every method has been tested with standard 6-oz wild salmon fillets cooked straight from the freezer.
Oven-Baked Frozen Salmon
Easiest MethodOven-baking is the most reliable, forgiving method for cooking frozen salmon. The even, surrounding heat of the oven thaws and cooks the fillet uniformly, and the higher temperature creates a lightly caramelized exterior. If you are new to cooking from frozen, start here.
Step-by-Step Instructions
- Preheat your oven to 425°F. Line a baking sheet with parchment paper or aluminum foil for easy cleanup. Place a wire rack on top if you have one — it allows air to circulate under the fillet for more even cooking.
- Prepare the fish. Remove the frozen fillet from its packaging. Rinse under cold running water for 30 seconds to remove any ice glaze. Pat the surface as dry as possible with paper towels.
- Place skin-side down on the baking sheet. Brush the top lightly with olive oil or avocado oil. At this point, the surface is too icy for dry seasonings to stick — the oil helps them adhere.
- Bake for 5 minutes, then season. After 5 minutes in the oven, the surface will be slightly thawed and tacky. Remove the baking sheet, season generously with salt, pepper, and your choice of herbs or spices, then return to the oven.
- Continue baking for 10–15 more minutes. Total cook time depends on fillet thickness. A standard 1-inch fillet takes 15–18 minutes total. Thicker king salmon fillets may need 20–22 minutes.
- Check internal temperature. Insert an instant-read thermometer into the thickest part of the fillet. For wild salmon, pull it at 120–125°F — carryover cooking will bring it to the ideal 125–130°F as it rests.
- Rest for 3 minutes before serving. The fillet will continue cooking slightly and the juices will redistribute for a moister result.
Quick Reference: Oven-Baked from Frozen
Temp: 425°F | Time: 15–20 min total | Season at: 5 min mark
Target internal: 120–125°F (pull temp) | Rest: 3 minutes
Tip: Line your baking sheet with parchment for no-stick, no-scrub cleanup.
Seasoning Tips for Oven-Baked
The 5-minute rule is essential. If you season a frozen fillet before putting it in the oven, the seasonings will slide off or dissolve in the melting ice. Wait until the surface has started to thaw and develop a slight tackiness before applying your rub, glaze, or seasoning.
Excellent oven combinations: lemon-dill with garlic, miso-ginger glaze, everything bagel seasoning with a drizzle of honey, or simple salt, pepper, and herbs de Provence.
Pan-Seared Frozen Salmon
Best for Crispy SkinPan-searing from frozen is more challenging than oven-baking because direct contact with the hot pan can overcook the exterior before the center thaws. The key is starting skin-side down, using moderate heat, and being patient. A hybrid approach — starting in the pan, finishing in the oven — gives the best results.
Step-by-Step Instructions
- Remove packaging and pat dry. Rinse the frozen fillet under cold water, then pat it as dry as you possibly can with paper towels. Moisture is the enemy of a good sear — excess ice and water on the surface will cause splattering and prevent browning.
- Heat a heavy-bottomed or cast-iron skillet over medium heat. Add 1 tablespoon of high-smoke-point oil (avocado oil is ideal). Let the oil heat until it shimmers but does not smoke.
- Place the fillet skin-side down. Press gently with a spatula for the first 30 seconds to ensure full skin contact with the pan. You will hear significant sizzling — this is normal as surface ice converts to steam.
- Reduce heat to medium-low. Cook skin-side down for 6–8 minutes without moving the fillet. The lower heat allows the center to thaw and cook gradually while the skin crisps. Resist the urge to peek — lifting the fillet will break the developing crust.
- Season the top. After 6–8 minutes, the top of the fillet will have visibly started to thaw. Season with salt, pepper, and your choice of spices.
- Flip and finish. Carefully flip the fillet. Cook flesh-side down for 3–5 minutes, or until the internal temperature reaches 120–125°F. Alternatively, transfer the skillet to a 400°F oven after flipping and bake for 4–5 minutes.
- Rest for 2 minutes. Remove the fillet to a plate, skin-side up to keep the skin crispy, and let rest before serving.
Quick Reference: Pan-Seared from Frozen
Heat: Medium, then Medium-Low | Time: 12–16 min total
Skin side: 6–8 min | Flesh side: 3–5 min (or oven-finish at 400°F)
Key: Pat VERY dry. Do not move the fillet during the skin-side sear.
Getting Crispy Skin from Frozen
The biggest challenge when pan-searing from frozen is moisture. Ice melting off the fillet creates steam, which is the opposite of what you want for crispy skin. Three techniques help:
- Dry the surface aggressively — use multiple paper towels and press firmly on all sides of the fillet before it goes in the pan.
- Use a hot, well-oiled pan — the oil layer creates a barrier between the wet fish surface and the pan, promoting browning instead of steaming.
- Do not crowd the pan — if cooking multiple fillets, leave at least 2 inches between them so steam can escape.
Air Fryer Frozen Salmon
Fastest & Most ConsistentThe air fryer might be the single best appliance for cooking frozen fish. The rapid circulation of hot air mimics the even heat of a convection oven but in a smaller space, meaning the fish cooks faster and more evenly. The circulating air also wicks away surface moisture, creating a lightly crisp exterior without any added oil.
Step-by-Step Instructions
- Preheat your air fryer to 380°F for 2–3 minutes. This ensures the cooking environment is at temperature when the fish goes in.
- Prepare the fish. Remove from packaging, rinse under cold water, and pat dry. Lightly brush with oil on all sides — this helps seasoning adhere and promotes browning.
- Place skin-side down in the air fryer basket. Do not overlap fillets. If cooking multiple portions, leave space between them for air circulation. You may need to cook in batches.
- Cook for 5 minutes, then season. After the initial 5 minutes, pause the air fryer, pull out the basket, and season the fillets. The surface will be slightly thawed and tacky. Apply your seasoning, glaze, or a pat of butter.
- Continue cooking for 7–10 more minutes. Check at the 12-minute mark. The fish is done when it flakes easily along the natural grain lines and the internal temperature reads 120–125°F.
- Rest for 2 minutes and serve immediately.
Quick Reference: Air Fryer from Frozen
Temp: 380°F | Time: 12–15 min total | Season at: 5 min mark
No flipping needed — the circulating air cooks all sides evenly.
Tip: A light brush of oil before cooking creates better browning and texture.
Why the Air Fryer Excels with Frozen Fish
Three factors make the air fryer ideal for frozen fish. First, the rapid air circulation removes moisture from the surface quickly, preventing the steamed/boiled texture that can happen in a covered pan. Second, the compact cooking chamber means the air stays consistently hot — placing a frozen fillet in a large oven drops the ambient temperature more significantly. Third, no flipping is required — the air circulates around all sides of the fillet evenly, so you get consistent results without the risk of the fillet breaking apart during a flip.
Instant Pot / Steamed Frozen Salmon
Gentlest MethodSteaming and pressure cooking are the gentlest approaches, producing incredibly moist, tender fish. The Instant Pot is particularly well-suited for frozen fish because the pressurized steam penetrates the fillet quickly and evenly, even from a fully frozen state. The result is silky, flaky fish in under 10 minutes including pressure build time.
Step-by-Step: Instant Pot Method
- Add 1 cup of water (or broth for extra flavor) to the Instant Pot insert. Place the trivet or steamer basket inside.
- Remove the frozen fish from packaging and place it on the trivet. You can add lemon slices, fresh herbs, or aromatics to the water for infused flavor.
- Close the lid and set to Manual/Pressure Cook on High for 4 minutes (for 1-inch fillets) or 5 minutes (for thicker fillets or steaks).
- Quick release the pressure as soon as the timer finishes. Allowing natural release will continue cooking the fish and can lead to overcooking.
- Remove the fish carefully — it will be very tender and can break apart easily. Season after cooking with salt, pepper, a squeeze of lemon, and a drizzle of good olive oil or a pat of butter.
Step-by-Step: Stovetop Steaming
- Fill a pot with 1–2 inches of water and bring to a simmer. Place a steamer basket or rack above the water level.
- Place frozen fillets in the steamer basket in a single layer. Do not let the fish touch the water directly.
- Cover and steam for 8–10 minutes for standard fillets from frozen. The steam heat is gentler than oven heat, so it takes slightly longer.
- Check doneness with a thermometer or by gently pressing the thickest part — it should flake easily. Season and serve immediately.
Quick Reference: Instant Pot from Frozen
Water: 1 cup in insert | Setting: High Pressure | Time: 4–5 min
Release: Quick release immediately | Season: After cooking
Stovetop steam: 8–10 min from frozen, covered, over simmering water
Steaming is ideal when you want the purest fish flavor without any browning or caramelization. It is also the most forgiving method for delicate species like cod, sole, and thinner pink salmon fillets that can dry out quickly with dry-heat methods. If you are meal-prepping fish to flake into salads, grain bowls, or fish cakes, steaming from frozen produces perfectly moist, easy-to-shred results.
5. Cooking Different Species from Frozen
Not all fish fillets behave the same way when cooked from frozen. Thickness, fat content, and flesh density all affect cooking time and the best approach. Here is a species-by-species guide for the fish you are most likely to cook straight from the freezer.
King Salmon (Chinook)
King salmon produces the thickest fillets of any Pacific salmon species, often 1.5 to 2 inches at the thickest point. That extra thickness means it needs more time from frozen — plan for 3–5 additional minutes compared to standard fillet times. The high fat content (the highest of any salmon species) makes king very forgiving; the generous marbling keeps the flesh moist even if you slightly overshoot the cook time.
Best method from frozen: Oven at 425°F for 20–25 minutes. The even oven heat handles the thick profile without burning the exterior.
Target internal temp: 125°F
Sockeye Salmon (Red)
Sockeye is leaner than king, with a firmer texture and more pronounced flavor. The lower fat content means it cooks faster and dries out more quickly if overcooked. From frozen, sockeye fillets (typically 0.75–1.25 inches thick) cook in standard times, but you should check temperature early. Pull it at 120–125°F for the best texture — the carryover will finish it perfectly.
Best method from frozen: Air fryer at 380°F for 12–14 minutes, or oven at 425°F for 15–18 minutes. The rapid cooking of the air fryer is ideal for sockeye’s leaner profile.
Target internal temp: 120–125°F
Coho Salmon (Silver)
Coho sits in the sweet spot between king and sockeye — moderate fat, moderate thickness, and a mild, buttery flavor. This makes it the most forgiving species to cook from frozen for beginners. Standard cook times apply for all methods, and the balanced fat content provides a comfortable margin for error.
Best method from frozen: Any method works well. Coho is especially good pan-seared from frozen because the moderate fat content renders nicely against the hot pan.
Target internal temp: 125°F
Pink Salmon
Pink salmon produces the thinnest, most delicate fillets of the Pacific salmon species. At 0.5–0.75 inches thick, they cook from frozen very quickly — often in 10–12 minutes in the oven. The lower fat content and thin profile make pink salmon best suited for gentle cooking methods or foil-packet preparations that lock in moisture.
Best method from frozen: Foil packets at 400°F for 12–15 minutes, or air fryer at 370°F for 8–10 minutes. Ideal for busy weeknight dinners.
Target internal temp: 125°F
Halibut
Halibut steaks and fillets are typically very thick (1.5–2+ inches) and very lean, which creates a different challenge from frozen: the center takes a long time to reach temperature while the lean exterior can dry out. The oven is the best option — avoid pan-searing halibut from frozen entirely, as the exterior will overcook badly before the center thaws.
Best method from frozen: Oven at 400°F (slightly lower than salmon) for 22–28 minutes. Consider a foil tent for the first half of cooking to trap steam and prevent surface drying. A pat of butter on top also helps keep the lean flesh moist.
Target internal temp: 130°F
Cod
Cod is a mild, flaky white fish with a delicate texture. Its structure is more fragile than salmon, so gentle methods are essential when cooking from frozen. Aggressive high heat can cause the exterior to disintegrate before the center cooks through. Steaming, poaching, and low-temperature baking produce the best results.
Best method from frozen: Steam for 10–12 minutes, or bake at 375°F for 18–22 minutes. Foil packets with a splash of white wine or broth are excellent — the liquid provides gentle, moist heat that works perfectly with cod’s delicate texture.
Target internal temp: 135°F
Species Quick Reference: Cooking from Frozen
King Salmon: 425°F, 20–25 min | Target: 125°F | Very forgiving
Sockeye: 425°F, 15–18 min | Target: 120–125°F | Watch closely, leaner
Coho: 425°F, 15–18 min | Target: 125°F | Great all-rounder
Pink: 400°F, 10–14 min | Target: 125°F | Fastest, thin fillets
Halibut: 400°F, 22–28 min | Target: 130°F | Oven only, use foil tent
Cod: 375°F, 18–22 min | Target: 135°F | Gentle methods only
6. Seasoning & Glazing Frozen Fish
Seasoning frozen fish requires a slightly different approach than seasoning thawed fish. A frozen surface is slick with ice and will not hold dry spices, so timing and technique matter. Master these principles and you will get bold, well-seasoned results every time.
The 5-Minute Rule
The most important technique for seasoning frozen fish is simple: start cooking first, season 5 minutes later. During those first 5 minutes in the oven or air fryer, the surface ice melts and evaporates, leaving a slightly tacky, partially thawed exterior. This texture grabs and holds seasonings far better than a frozen or fully thawed surface.
For pan-searing, season the top of the fillet while the skin side is cooking. The heat rising from the pan will have partially thawed the upper surface by the time you need to flip.
Glazes That Work Beautifully from Frozen
Glazes are arguably better on frozen fish than on thawed fish. A glaze applied to a cold surface sets more slowly, creating a thicker, more even coating. Here are six glazes that produce exceptional results when applied at the 5-minute mark.
Teriyaki Glaze
Equal parts soy sauce, mirin, and honey. Brush on at the 5-minute mark, then again halfway through cooking for a glossy lacquered finish.
Miso-Ginger
White miso paste thinned with rice vinegar, a touch of maple syrup, and grated fresh ginger. Creates a savory-sweet umami crust.
Lemon-Herb Butter
Softened butter mixed with lemon zest, minced garlic, fresh dill and parsley. Place a pat on top at the 5-minute mark and let it melt over the fillet.
Honey-Mustard
Dijon mustard, honey, a splash of apple cider vinegar, and smoked paprika. Brush on generously for a caramelized, tangy crust.
Maple-Soy
Pure maple syrup, soy sauce, and a pinch of red pepper flakes. The sugars caramelize beautifully in the oven, creating a sweet-savory bark.
Garlic-Butter Parm
Melted butter, minced garlic, grated Parmesan, and Italian herbs. Spread on at the 5-minute mark for a rich, golden-crusted fillet.
Dry Rubs vs. Wet Marinades on Frozen Fish
Dry rubs work very well on frozen fish when applied at the 5-minute mark. The slightly damp surface acts as a natural binder, and the heat of the oven toasts the spices as the fish cooks. Good dry rub options include Cajun seasoning, lemon pepper, everything bagel spice, smoked paprika blends, and simple salt with cracked black pepper and herbs.
Wet marinades do not work on frozen fish — the frozen surface will not absorb any liquid. If you want marinated fish, you need to thaw it first and marinate for at least 30 minutes (up to 2 hours for most fish; acid-based marinades should not exceed 30 minutes or the acid will start to break down the flesh). The one exception is a thick glaze or paste, which clings to the partially thawed surface and infuses flavor as the fish cooks.
The Foil Packet Method: Foolproof from Frozen
If you want a completely hands-off, virtually impossible-to-mess-up approach, the foil packet method is your answer. Place the frozen fillet on a large sheet of aluminum foil (or parchment paper), add your seasonings, glaze, and vegetables directly on and around the fish, then seal the packet tightly.
Build the Packet
Tear a 14-inch sheet of foil. Place the frozen fillet in the center. Add sliced lemon, garlic, vegetables (asparagus, zucchini, cherry tomatoes), and a drizzle of olive oil. Season with salt, pepper, and herbs.
Seal Tightly
Fold the foil over the fish and crimp the edges tightly. Leave a little room inside the packet for steam to circulate — this steam is what cooks the fish gently and evenly.
Bake at 400°F for 18–22 Minutes
Place the packet on a baking sheet and bake until the fish flakes easily. Open the packet carefully — the escaping steam is very hot. The fish, vegetables, and seasonings create their own flavorful sauce inside the packet.
The sealed environment of a foil packet traps the moisture that melts off the frozen fillet and converts it into gentle steam. Instead of losing that moisture to the oven (as happens with open-pan baking), it stays in the packet, basting the fish and vegetables as everything cooks. This self-basting effect means frozen fish in a foil packet comes out just as moist and flavorful as thawed fish cooked the same way — and you get a complete meal with no extra pans to wash.
7. Common Mistakes When Cooking Frozen Fish
Cooking frozen fish is straightforward once you know the basics, but there are a few common pitfalls that can ruin an otherwise great meal. Avoid these six mistakes and you will get restaurant-quality results every time.
Cooking at Too High a Temperature
This is the most common mistake. Cranking the oven to 500°F or using high heat on the stovetop creates a huge temperature differential between the frozen center and the cooking surface. The result: a dry, overcooked exterior surrounding a raw, icy center. The fix: Use moderate heat (400–425°F for oven, medium to medium-low for stovetop) and give the heat time to penetrate evenly through the fillet.
Do This Instead
Oven: 425°F maximum. Pan: Start at medium, reduce to medium-low after 2 minutes. Air fryer: 380°F. Lower and slower wins every time with frozen fish.
Not Patting Dry After Thawing
When you thaw fish (especially via the cold water method), the surface is wet. Putting wet fish into a hot pan or oven means the surface steams instead of browning. You get pale, soft, slightly rubbery skin instead of golden, crispy deliciousness. The fix: After thawing, blot the fish aggressively with paper towels on all sides. Let it sit uncovered on a paper-towel-lined plate for 5 minutes to air dry the surface before cooking.
Refreezing Thawed Fish Without Cooking
Once fish has been thawed, refreezing it without cooking first causes significant quality loss. The second freeze-thaw cycle creates even larger ice crystals that further damage the cell structure, resulting in mushy, watery fish. More importantly, bacteria that multiplied during the thaw period are not killed by refreezing — they simply go dormant and resume multiplying when the fish is thawed again. The fix: Only thaw what you plan to cook. If you accidentally thawed too much, cook it all and refrigerate the cooked portions for use within 3 days.
Overcrowding the Pan
Frozen fish releases a significant amount of moisture as it cooks. If you pack multiple fillets into one pan with no space between them, all that moisture turns into steam, and steam means no browning. Instead of searing, you are effectively boiling your fish in its own meltwater. The fix: Leave at least 2 inches of space between fillets. Cook in batches if necessary. This applies to baking sheets, air fryer baskets, and especially skillets.
Not Adjusting Seasoning Timing
Sprinkling salt and herbs onto a frozen fillet before cooking is almost pointless — the seasonings will wash off with the melting ice or fall to the bottom of the pan. You end up with bland fish and a seasoned baking sheet. The fix: Use the 5-minute rule. Let the surface thaw slightly in the oven or air fryer, then add your seasonings when they will actually adhere.
Relying on Time Instead of Temperature
Cook times for frozen fish vary significantly depending on fillet thickness, species, starting temperature, and oven accuracy. A 15-minute recipe might produce a perfect fillet one day and a raw center the next if your fillet was thicker or your oven runs cool. The fix: Always use an instant-read thermometer. Pull salmon at 120–125°F, halibut at 130°F, and cod at 135°F. A good instant-read thermometer is a $15 investment that eliminates guesswork permanently.
The Single Best Investment for Cooking Frozen Fish: An instant-read digital thermometer. It eliminates all guesswork, prevents overcooking (the biggest quality killer), and works identically whether the fish started frozen or thawed. Check the temperature at the thickest part of the fillet, and you will get perfect results every single time.
8. Frozen Fish Meal Prep Strategies
One of the biggest advantages of keeping flash-frozen fish in your freezer is the ability to eat high-quality, wild-caught seafood on any night of the week without a trip to the store. With a simple system, you can go from freezer to plate in under 20 minutes — faster than ordering delivery.
The Weeknight Freezer-to-Plate Strategy
This is the simplest approach: keep individually vacuum-sealed portions in your freezer at all times, and cook them straight from frozen whenever the mood strikes. No planning ahead, no thawing, no waste. Here is why this works so well:
- Individual portions mean zero waste — pull exactly what you need. No thawing a big piece and wondering what to do with the rest.
- Vacuum-sealed packaging prevents freezer burn — properly vacuum-sealed fish stays at peak quality for 6–12 months in the freezer.
- Any night can be fish night — toss a fillet in the oven at 425°F while you prep a side salad, and dinner is ready in 20 minutes.
- Variety without commitment — keep king, sockeye, and coho in the freezer and choose based on your mood that evening.
Monday
Air fryer sockeye with teriyaki glaze, steamed rice, and stir-fried snap peas. From freezer to plate: 18 minutes.
Wednesday
Oven-baked king salmon with lemon-herb butter, roasted broccoli, and quinoa. From freezer to plate: 25 minutes.
Friday
Foil packet coho with cherry tomatoes, artichokes, and olives. Mediterranean dinner from freezer to plate: 22 minutes.
Sunday Prep: Thaw Portions for the Week
If you prefer to have thawed fish ready to cook quickly during the week, the Sunday strategy works beautifully. On Sunday evening, open or remove the vacuum packaging from the portions you plan to use, place the fish in a shallow covered container, and move it to the refrigerator. Keep it refrigerated and follow any package or processor instructions for thawing and storage.
This approach is ideal if you prefer pan-searing (which works best with thawed fish) or if you like to marinate your fish before cooking. Thaw Sunday, marinate Monday morning, cook Monday evening — the flavor penetration is far better on thawed fish.
Build Your Freezer Stock with Mix-and-Match Tiers
Popsie’s box-size options are designed for this kind of meal planning. Choose the current option that fits your freezer and household; every portion is individually vacuum-sealed for flexibility.
Starter Box (5 lb): Perfect for trying different species. About 8–10 individual portions — enough for 2–3 weeks of twice-weekly fish dinners for two.
Value Box (10 lb): The sweet spot for regular seafood eaters. About 16–20 portions — roughly a month of supply for a couple.
Family Box (15 lb): Ideal for families of four eating fish 2–3 times per week. About 24–30 portions.
Freezer Pack (20 lb): Maximum savings per pound. Stock your freezer for 2+ months and never worry about running out.
9. Frozen vs. Fresh Fish: The Definitive Comparison
The frozen-versus-fresh debate is one of the most persistent myths in the seafood world. Here is an honest, side-by-side comparison across every factor that matters.
| Factor | Flash-Frozen (Popsie) | Grocery "Fresh" Counter |
|---|---|---|
| Time from catch to preservation | Hours (frozen on boat/at dock) | 7–14 days (transport + display) |
| Texture after cooking | Firm, clean flake; nearly identical to fresh-caught | Can be soft, mushy if aging has progressed |
| Flavor | Clean, bright, species-specific | Varies widely; can taste "fishy" if older |
| Omega-3 content | Preserved at peak levels by rapid freezing | Degrades with oxidation during transport |
| Food safety | Freezing kills parasites; minimal bacterial growth | Depends on cold-chain integrity during transit |
| Convenience | Ready whenever you are; months of shelf life | Must cook within 1–2 days of purchase |
| Waste | Near zero with individual portions | High — often buy more than needed, spoils quickly |
| Price per serving | Lower with bulk tiers; no waste premium | Higher counter markup + waste factor |
| Availability | Year-round, any species, shipped to your door | Seasonal; varies by region and store |
| Traceability | Full chain: boat to species to catch location | Often opaque; may be mislabeled |
The Verdict: For the vast majority of home cooks, flash-frozen wild salmon is the better choice. It is fresher at the point of cooking, more convenient to store and prepare, produces less waste, and often costs less per serving — especially when purchased through Popsie’s tiered bulk system. The only scenario where truly fresh fish wins is when you have access to same-day-caught fish from a local dock or harbor — and even then, the difference in a cooked preparation is minimal.
10. Frequently Asked Questions
Yes. Flash-frozen fish retains virtually all of its nutritional value, including omega-3 fatty acids, protein, vitamins, and minerals. The flash-freezing process does not degrade nutrients in any meaningful way. In fact, because flash-frozen fish is preserved at peak freshness, it may actually contain higher levels of omega-3s than "fresh" fish that has been degrading during days of transport, since omega-3 fatty acids are susceptible to oxidation over time.
Properly vacuum-sealed and stored at 0°F or below, wild salmon and other fatty fish maintain peak quality for 6 to 9 months, and remain safe to eat indefinitely (though quality gradually declines after 12 months). Lean white fish like cod and halibut can maintain quality for up to 12 months when vacuum-sealed. The key is preventing freezer burn through proper packaging — vacuum-sealing is far superior to plastic wrap or zip-lock bags.
For the full breakdown across raw, cooked, smoked, and canned salmon — and a quick-reference storage table — see our complete salmon storage guide.
Technically yes, if the fish was thawed in the refrigerator and has been kept below 40°F the entire time. However, refreezing causes significant quality loss — the second freeze creates larger ice crystals that damage the flesh, resulting in a mushier texture and more moisture loss when cooked. The better approach: cook the thawed fish, then freeze the cooked portions. Cooked frozen fish reheats well and avoids the texture degradation of a double freeze-thaw cycle.
The most reliable method is an instant-read thermometer. For wild salmon, pull it at 120–125°F (carryover cooking will bring it to 125–130°F during rest). For halibut, aim for 130°F. For cod and other white fish, 135–140°F. Without a thermometer, the fish is done when it flakes easily along the natural grain when gently pressed with a fork, and the flesh has turned from translucent to opaque throughout.
Yes. As a general rule, cooking from frozen adds approximately 50% more time compared to cooking thawed fish. A thawed salmon fillet that takes 10–12 minutes in the oven will take 15–18 minutes from frozen. The exact additional time depends on the thickness of the fillet, the cooking method, and how cold the fillet is when it goes in (a fillet from a deep freeze at -10°F will take slightly longer than one from a standard 0°F freezer).
You can, but it is generally not recommended as a primary cooking method. Microwaves heat unevenly, which often results in some parts being overcooked and rubbery while other parts are still cold. If you do microwave fish, use low power (30–50%), cover loosely to trap steam, and cook in short intervals, checking frequently. The microwave is better used as a thawing tool (defrost setting) with the fish then finished by another method like pan-searing or broiling.
A strong fishy smell or taste usually indicates one of three problems: the fish was not fresh when it was frozen, it suffered freezer burn from poor packaging, or it was thawed and refrozen at some point during distribution. High-quality flash-frozen wild fish that has been properly vacuum-sealed should smell clean and mildly oceanic when thawed, never strongly fishy. If your frozen fish smells off, it is a sign of degraded quality — not an inherent problem with frozen fish itself.
Yes, give it a quick rinse under cold running water for 15–30 seconds to remove the ice glaze (a thin layer of ice applied during commercial processing to protect against freezer burn). Then pat the surface dry with paper towels before cooking. Do not soak frozen fish in water unless you are doing a cold-water thaw with the fish still sealed in its packaging.
The white substance is albumin, a protein that is naturally present in salmon. It coagulates and is pushed to the surface when the fish is heated. It is completely harmless and safe to eat, though some people find it unappealing visually. To minimize albumin seepage, cook salmon at lower temperatures (avoid very high heat), brine the fish briefly before cooking (a 10-minute soak in a solution of 1 tablespoon salt per cup of water), or use gentle methods like poaching or steaming.
The USDA recommendation of 145°F provides a significant safety margin and is designed as a universal guideline. At 145°F, salmon is fully cooked but can taste dry and chalky to many people. Most professional chefs and seafood experts recommend pulling wild salmon at 120–125°F for the best texture and flavor — at this temperature, the salmon is opaque throughout but still moist and silky. The lower temperature is considered safe for healthy adults when the fish is from a reputable source. Individuals who are pregnant, immunocompromised, or elderly may prefer to follow the USDA guideline.
Cook-from-Frozen Recipe Ideas
Each of these recipes is designed to go straight from the freezer to the table. No thawing required. For even more ideas organized by species and cooking method, visit our complete recipes hub.
Miso-Glazed Oven Salmon
White miso, rice vinegar, maple syrup, and ginger brushed onto frozen sockeye at the 5-minute mark. A sweet, umami-rich glaze that caramelizes perfectly in the oven.
Air Fryer Teriyaki Salmon Bowl
Frozen salmon in the air fryer with homemade teriyaki, served over steamed rice with edamame, avocado, and pickled ginger. A poke-bowl-inspired weeknight dinner.
Mediterranean Foil Packet Salmon
Frozen salmon with cherry tomatoes, olives, capers, artichoke hearts, and a squeeze of lemon sealed in a foil packet. The fish steams in its own juices with Mediterranean flavors.
Instant Pot Salmon with Lemon-Dill
Frozen salmon steamed in the Instant Pot with lemon slices and fresh dill. Five minutes of pressure cooking produces incredibly silky, moist fish perfect for salads and grain bowls.
Honey-Mustard Sheet Pan Salmon
Frozen salmon with Dijon, honey, and roasted vegetables (broccoli, sweet potato, red onion) all on one pan. Dinner and sides cook together — one pan, zero effort.
Everything Bagel Salmon Bites
Frozen salmon cut into cubes (let sit 3 min for easy cutting), tossed in oil and everything bagel seasoning, air-fried until golden. Serve with cream cheese dipping sauce.
Related Guides
How to Cook Wild Salmon: Complete Guide
Comprehensive guide covering every cooking method for wild salmon, including grilling, broiling, sous vide, and more — with species-specific tips.
How to Buy Wild Salmon: The Complete Guide
Everything you need to know about choosing, sourcing, and storing wild salmon — including how to read labels and avoid mislabeled fish.
Sockeye Salmon: The Complete Guide
Deep dive into sockeye salmon — the most popular wild salmon species for cooking from frozen, with its bold flavor and firm texture.
King vs Sockeye Salmon
How the fattiest, most luxurious salmon species compares to sockeye in flavor, nutrition, and cooking from frozen.
Wild Salmon Health Benefits
The complete breakdown of omega-3s, protein, vitamins, and minerals in wild salmon — and why flash-freezing preserves these nutrients at peak levels.
Wild vs. Farmed Salmon
Side-by-side comparison of wild and farmed salmon across nutrition, taste, environmental impact, and safety — and why wild always wins.
Flash-Frozen from Bristol Bay to Your Door
Wild Alaskan salmon, frozen within hours of catch, vacuum-sealed in individual portions, and shipped directly to you on dry ice. No middlemen. No sitting on a counter for days. Just peak-freshness fish, ready to cook straight from your freezer.
Flash-Frozen Same Day
Frozen within hours of leaving the water, locking in peak freshness and nutrition.
Vacuum-Sealed Portions
Individual portions mean zero waste and ultimate convenience. Pull exactly what you need.
Dock to Your Door
Shipped on dry ice from Bristol Bay, Alaska directly to your home. No retail markup.